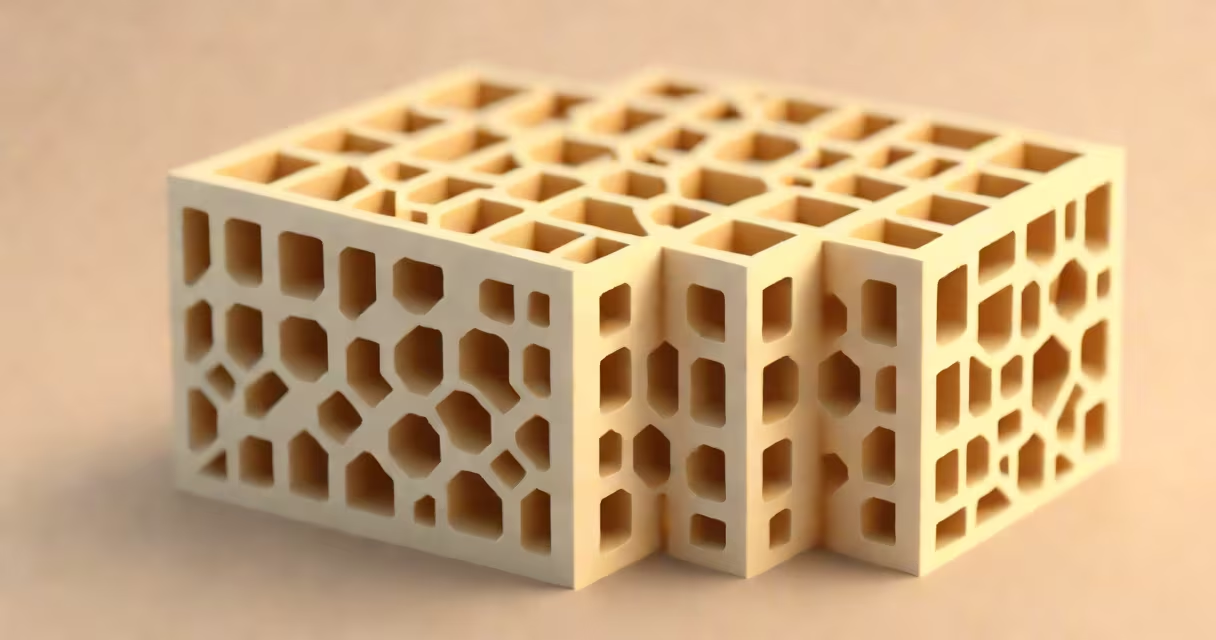
Infill in 3D printing refers to the internal pattern and density of material used within a solid object's volume. It determines how much of the interior is filled versus hollow, affecting strength, weight, and material cost. This structure is generated during slicing, before printing begins.
The infill is not visible on the surface of the model. Instead, it fills the space between the outer walls and the inner void. A 3D printer deposits filament in a repeating geometric pattern-such as lines, grids, or honeycombs-based on the selected infill percentage and design.
For example, a 20% infill means only 20% of the internal volume is filled with plastic. At 100%, the entire interior is solid. Most prints use between 10% and 30% infill for balance between durability and efficiency.
When a 3D model is prepared for printing, software called a slicer analyzes the geometry and generates layer-by-layer instructions. During this step, the slicer inserts the chosen infill pattern into each layer's internal area.
The printer then moves the nozzle along the infill path while depositing material. This happens after the outer shell layers are completed. The infill runs perpendicular to the previous layer's direction to improve structural integrity.
Some slicers allow custom infill paths. For instance, a spiral infill may reduce print time and material use while maintaining strength in certain directions. These settings are adjusted before sending the G-code to the printer.
Several infill patterns exist, each suited to different functional requirements. The choice affects mechanical performance, print speed, and material usage.
| Infill Pattern | Density Range | Best For | Strength vs. Speed Trade-off |
|---|---|---|---|
| Lines (Rectilinear) | 10%-50% | General-purpose parts, prototypes | Fast, moderate strength |
| Honeycomb | 20%-60% | Load-bearing components, lightweight structures | High strength-to-weight ratio |
| Tri-hexagon | 15%-40% | Parts needing isotropic strength | Even stress distribution, slower print |
| Concentric | 10%-30% | Smooth internal surfaces, aesthetic models | Low noise, minimal stringing |
Line infill is the fastest to generate and print. It uses simple horizontal and vertical passes. Honeycomb offers better resistance to compression and shear forces. It's often used in robotics or tooling where impact resistance matters.
A real-world test conducted by the University of Michigan's Mechanical Engineering Department showed that honeycomb infill at 30% density supported 2.3 times more load before failure than line infill at the same density under bending stress.
Higher infill increases strength but adds material cost and print time. A 100% infill object takes twice as long to print as a 50% version and uses nearly double the filament.
For functional parts like brackets or gears, 30%-50% infill typically provides sufficient rigidity. A 3D-printed gear with 40% honeycomb infill held up under 15 Nm of torque in a test run without deformation.
Lower infill reduces material use and energy consumption. A study by the National Institute of Standards and Technology (NIST) found that reducing infill from 100% to 20% cut filament usage by 80% and reduced print time by 65% in standard PLA prints.
Many assume that higher infill always means stronger prints. That's not true. A 100% infill object may crack under impact due to brittleness. The internal structure matters more than raw fill amount.
Another mistake is using uniform infill across all parts of a complex model. Some areas need more support than others. A well-designed print adjusts infill based on stress points. For example, the base of a robot arm may use 50% honeycomb, while the shaft uses 20% lines.
One non-obvious fact: infill doesn't affect surface quality. The exterior remains smooth regardless of internal density. Surface finish depends solely on wall thickness, layer height, and nozzle size.
Consider a phone holder designed for a smartphone. The goal is to hold the device securely without excessive material use.
Using a slicer like Cura, the designer sets:
The resulting print uses approximately 1.8 grams of PLA per 100 mm³ of volume. At 25% infill, the internal structure absorbs shock and resists warping. The part weighs 42 grams and holds the phone upright under normal handling.
Without adjusting infill, a 100% solid version would weigh 168 grams-four times heavier-with no added benefit for this application.
Beginners often default to 20% rectilinear infill. It's fast, reliable, and works for most non-functional models. As experience grows, switching to honeycomb or tri-hexagon improves performance in load-bearing applications.
Always test printed samples under expected loads. A 30% honeycomb infill may work for a shelf bracket, but a 50% setting is needed for a rotating joint.
Understanding infill is essential for efficient, effective 3D printing. It balances performance, cost, and print time. Choosing the right combination of pattern and density ensures the final product meets both functional and economic goals.