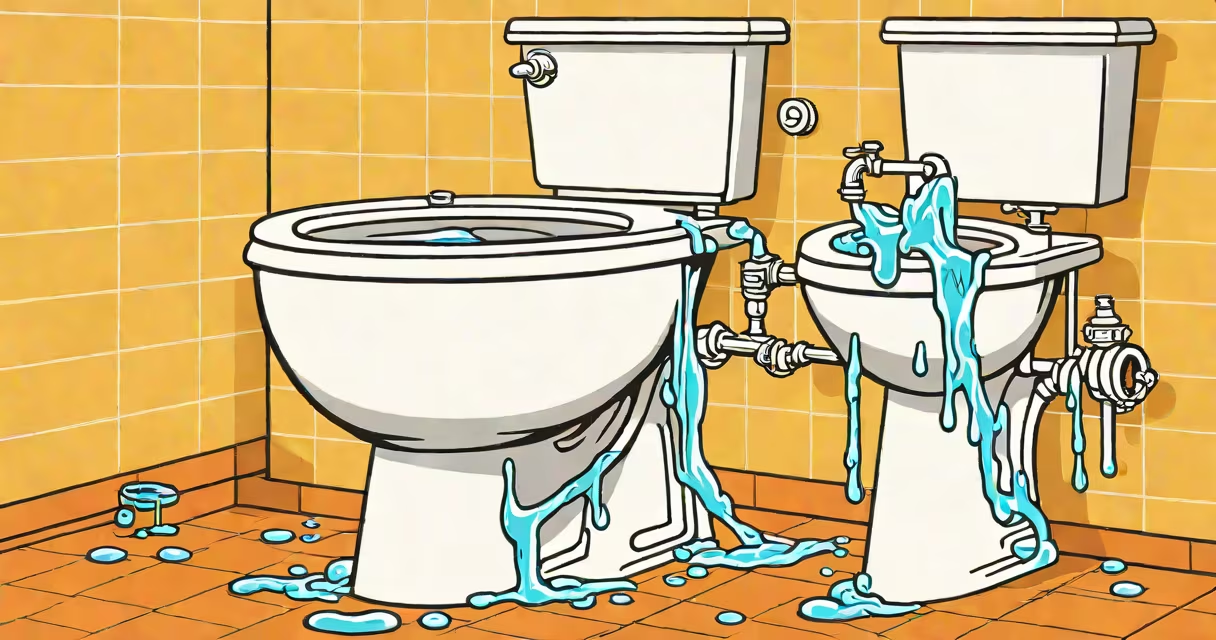
A leaking toilet tank occurs when water escapes from the tank into the bowl without flushing, often due to worn internal components like the flapper, fill valve, or tank-to-bowl gasket. This causes continuous water waste and higher utility bills.
Leakage typically begins with a slow drip or constant running sound. A single leak can waste 200 gallons of water per month-enough to fill a bathtub weekly. The most common cause is a degraded flapper that fails to seal properly against the flush valve seat.
Fixes require shutting off the water supply, draining the tank, removing the old flapper, and replacing it with a compatible model. Most toilets use standard 2-inch flappers, but sizes vary. Always match the flapper's hole pattern and weight to the original.
Water flows from the tank to the bowl through the flush valve during a flush. After flushing, the flapper seals the valve. If the flapper doesn't form a tight seal, water leaks into the bowl. This happens when the flapper material degrades from chlorine exposure or mineral buildup.
Another failure point is the fill valve. If the float arm is misaligned or the valve fails to shut off, water continues to flow into the tank and overflows into the overflow tube. This causes a steady drip into the bowl.
Less frequently, a cracked tank or a damaged rubber gasket between the tank and bowl can allow water to seep out. These issues usually show visible moisture around the base or pooling under the toilet.
Repair kits include a flapper, chain, and sometimes a new fill valve. You'll also need a wrench, pliers, and a sponge or towel to dry the tank interior. Most hardware stores carry universal flapper kits for $5-$10.
For older toilets, especially those manufactured before 1994, flappers may have different hole patterns. Measure the distance between mounting holes-common sizes are 1.5 inches or 2 inches. Using the wrong size causes improper sealing.
When replacing the fill valve, ensure the new model fits the existing inlet pipe diameter. Most modern valves use ¾-inch threaded connections. Check the manufacturer's specs before purchasing.
| Component | Common Failure Signs | Replacement Cost |
|---|---|---|
| Flapper | Dripping after flush, weak flush, water level too high | $3-$8 |
| Fill Valve | Constant running, water overflows into overflow tube | $15-$30 |
| Tank-to-Bowl Gasket | Water pooling under toilet, damp floor | $5-$10 |
Turn off the water supply at the shutoff valve behind the toilet. Flush the toilet to drain the tank. Hold the handle down until the tank is empty. Use a sponge to remove residual water.
Disconnect the chain from the flush lever. Remove the flapper by unhooking the hinge pin. Take the old flapper to a hardware store to match the size and hole pattern. Install the new flapper by reversing the process-reinsert the hinge pin and reconnect the chain.
Reopen the water supply slowly. Let the tank refill and observe the flapper's seal. If water still drips, adjust the chain slack. Too much slack prevents the flapper from lifting fully; too little causes premature release.
Test the flush cycle. Listen for a complete seal. If the tank runs continuously, the issue may be the fill valve. Adjust the float arm so it stops water at the correct level-typically 1 inch below the overflow tube.
Many assume a leak is caused by low water pressure. In reality, most tank leaks stem from mechanical wear, not plumbing pressure. Water pressure affects the flush force, not the seal integrity.
Some try to fix leaks by adjusting the float height. While this can prevent overfilling, it won't stop a flapper leak. Over-adjusting the float can cause the tank to overflow, leading to water damage.
Replacing the flapper is not a permanent fix. Flappers degrade within 3-5 years. Regular inspection every 6 months prevents recurring leaks. I replaced a flapper in my bathroom last year-after 18 months, it began leaking again. Replacing it early saved me $40 in water charges.
If the leak persists after replacing the flapper and fill valve, the problem may be a cracked tank or a faulty flush valve seat. Cracks in porcelain are rare but possible under stress or freezing conditions.
For tanks with a warped or corroded flush valve seat, professional repair is needed. Attempting to replace the entire flush valve assembly without proper tools risks damaging the tank or causing a larger leak.
Always check local codes. Some municipalities require licensed plumbers for repairs involving water line modifications or fixture replacements.
After fixing the leak, monitor your water meter. Run the toilet and watch the meter for movement. If the reading changes, the repair was successful. A steady drop confirms the seal holds.
Leaking toilet tanks are preventable. Identifying the root cause-flapper wear, fill valve failure, or gasket degradation-and replacing the component promptly stops water waste and reduces long-term costs.